How to Edit Professional Travel Photos Using Lightroom Mobile
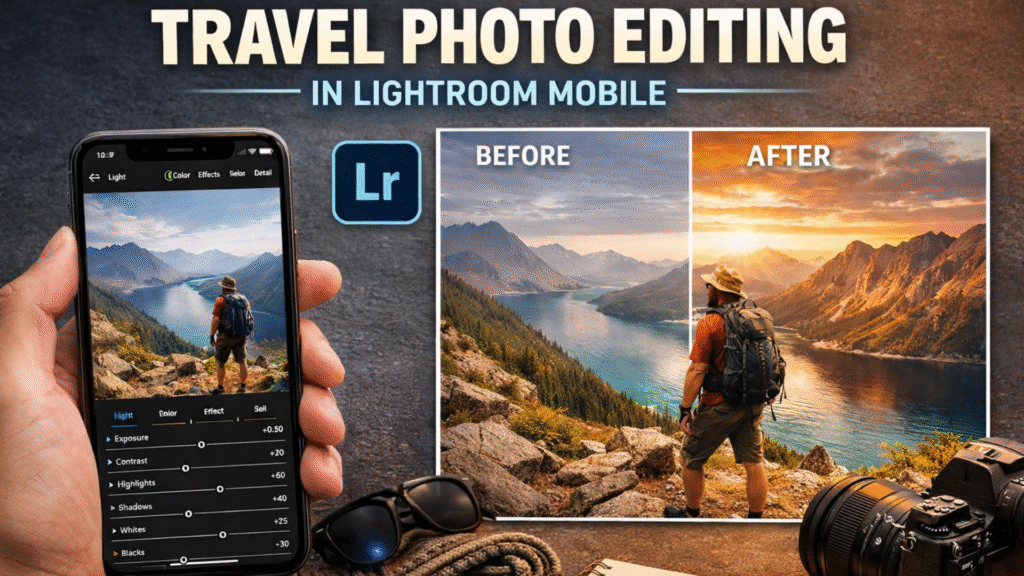
Travel photography is all about capturing the essence of a location, its colors, moods, and unique moments. But even the most stunning photos can look ordinary without proper editing. Lightroom Mobile provides powerful tools that allow photographers and creators to transform raw travel shots into professional, eye-catching images. This guide will show you step-by-step techniques, tips, and tricks to edit travel photos like a pro using Lightroom Mobile in 2025.
Why Editing Travel Photos Matters
Professional editing is crucial in travel photography because it:
- Enhances Colors: Highlights landscapes, skies, and cityscapes vividly.
- Sets Mood and Tone: Creates a cinematic, warm, or moody look depending on the scene.
- Improves Composition: Adjusts exposure, lighting, and perspective to emphasize key elements.
- Consistency Across Feeds: Ensures your Instagram, portfolio, or blog has a uniform visual style.
Using Lightroom Mobile ensures your travel photos retain high quality while standing out online.
Step 1: Start With a Clean Base
Before diving into color grading, fix basic exposure and composition issues:
- Crop and Straighten: Align horizons and remove distracting edges.
- Adjust Exposure: Ensure the image is neither too dark nor too bright.
- Contrast and Highlights: Add depth to shadows and balance bright areas.
- White Balance: Correct color tones to match the natural lighting of the scene.
- Remove Noise: Apply noise reduction, especially for low-light or night shots.
Step 2: Enhance Colors With HSL Adjustments
HSL (Hue, Saturation, Luminance) is key for professional travel photo edits:
- Hue: Shift specific colors to emphasize elements like ocean blues, sunset oranges, or lush greens.
- Saturation: Increase or decrease intensity to make images vibrant without overdoing it.
- Luminance: Adjust brightness of specific colors to bring focus to certain areas.
Pro Tip: Subtle HSL adjustments often look more cinematic and realistic than heavy edits.
Step 3: Use Tone Curve for Depth and Mood
The Tone Curve allows precise control over highlights, midtones, and shadows:
- Shadows: Deepen or soften shadows to create depth in landscapes or street photography.
- Midtones: Adjust midtones for overall brightness and color balance.
- Highlights: Refine bright areas like skies or reflective surfaces.
For a cinematic effect, try a gentle S-curve to enhance contrast while preserving details.
Step 4: Apply Local Adjustments
Lightroom Mobile provides selective tools to edit specific areas:
- Radial Filters: Highlight subjects like monuments, food, or people.
- Graduated Filters: Enhance skies, rivers, or horizons for natural color transitions.
- Brush Tool: Apply corrections to small areas such as faces, objects, or textures.
These tools ensure each photo emphasizes its key elements professionally.
Step 5: Add Presets for Consistency
Presets save time and maintain a cohesive look across travel photos:
- Create Custom Presets: Adjust HSL, Tone Curve, and filters, then save for future photos.
- Use Pre-Built Travel Presets: Many Lightroom presets are designed for sunsets, cityscapes, and landscapes.
- Combine Presets With Manual Adjustments: Ensure each photo looks tailored and natural.
Step 6: Enhance Details and Texture
Fine-tuning textures and clarity elevates your travel photos:
- Sharpening: Make details like architectural elements and landscapes crisp.
- Clarity: Enhance midtone contrast for more depth and realism.
- Dehaze: Remove atmospheric haze to make mountains, oceans, and skylines more vivid.
These subtle adjustments make images more professional without appearing over-edited.
Step 7: Export in High Quality
Once your edits are complete:
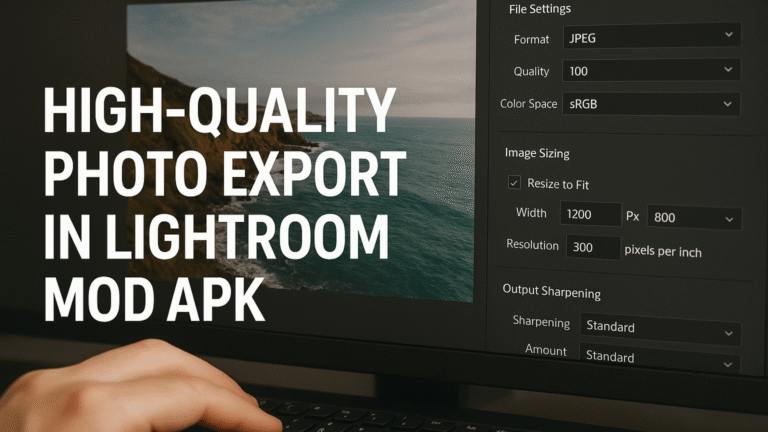
- Export photos in full resolution.
- Choose JPG for social media or TIFF/PNG for prints and professional use.
- Ensure watermark-free export if branding is unnecessary.
High-quality exports maintain colors, details, and sharpness, making your travel photos stand out online. Lightroom Mod APK vs Adobe Photoshop find out which suits your editing needs.

Tips for Editing Travel Photos Like a Pro
- Shoot in RAW: Lightroom Mobile handles RAW files better, allowing precise editing.
- Keep Edits Natural: Avoid over-saturation or extreme contrast to retain realism.
- Plan Edits Based on Light: Golden hour photos may need different adjustments than midday shots.
- Experiment With Styles: Cinematic, moody, or vibrant edits can create a unique visual identity.
- Organize Photos: Save edits and presets in folders for easy future use.
Enhancing Sky and Landscape in Travel Photos
The sky and landscapes are often the most striking elements in travel photography, and enhancing them can dramatically improve the overall impact of your photos. In Lightroom Mobile, tools like the Gradient Filter, Brush Tool, and HSL adjustments allow you to selectively enhance skies, mountains, beaches, or cityscapes. You can make skies more vibrant, add depth to clouds, or bring out sunset hues without affecting the rest of the image.
For landscapes, adjusting contrast, clarity, and saturation helps highlight textures, such as rugged mountains, lush forests, or shimmering waters. By carefully enhancing skies and landscapes, you can transform ordinary travel shots into breathtaking visuals that truly capture the essence of your journey.
Using Presets to Save Time
Editing travel photos from scratch can be time-consuming, especially if you have dozens of images from a single trip. This is where presets in Lightroom Mobile become a game-changer. Presets are pre-configured editing settings that you can apply to your photos with a single tap, giving them a consistent and professional look instantly.
Using presets offers several benefits:
- Consistency Across Your Photos: If you’re editing an entire album or travel series, presets help maintain a cohesive color tone, mood, and style across all images. This is particularly important for Instagram feeds, travel blogs, or professional portfolios.
- Saves Time and Effort: Instead of adjusting exposure, contrast, and colors individually for each photo, applying a preset automates much of the process. You can then make minor tweaks to match the lighting and composition of individual shots.
- Professional-Quality Results: Many Lightroom presets are designed by professional photographers and colorists. Using them can instantly give your photos cinematic tones, vibrant colors, or moody aesthetics without complex editing knowledge.
- Customizable Options: Even after applying a preset, you can fine-tune settings such as shadows, highlights, or saturation to ensure the edit perfectly suits your photo.
Pro Tip: Create your own signature preset once you find an editing style you love. This allows you to maintain your unique aesthetic for all future travel photos while saving a huge amount of editing time.
By integrating presets into your workflow, you can focus more on capturing stunning travel moments and less on repetitive editing tasks, making your photo editing process faster and more enjoyable.


